| “This site contains affiliate links for which OEMDTC may be compensated” |
TECHNICAL BULLETIN
JTB00344NAS1
06 MAY 2014
SECTION: 501-00
Earth Stud Repair on Aluminum Body
AFFECTED VEHICLE RANGE:
| F-TYPE (X152) Model Year: 2014 Onwards VIN: K00001 Onwards |
| XJ Range (X350) Model Year: 2003-2009 VIN: G00001-H32732 |
| XJ Range (X351) Model Year: 2010 Onwards VIN: V00001 Onwards |
| XK Range (X150) Model Year: 2006 Onwards VIN: B00001 Onwards |
MARKETS:
NAS
CONDITION SUMMARY:
Situation: An earth stud may be broken or cross threaded.
Cause: This may be caused by damage in production or during a repair.
Action: In the event it is necessary to replace a damaged or cross-threaded earth stud, refer to the Service Instruction outlined below.
PARTS:
| C2D36917 | Earth Stud | Quantity: 1 |
WARRANTY:
NOTE: Repair procedures are under constant review, and therefore times are subject to change; those quoted here must be taken as guidance only. Always refer to TOPIx to obtain the latest repair time.
NOTE: DDW requires the use of causal part numbers. Labor only claims must show the causal part number with a quantity of zero.
| DESCRIPTION | SRO | TIME (HOURS) | CONDITION CODE | CAUSAL PART |
|---|---|---|---|---|
| Broken/cross threaded earth stud – Repair | 05.10.30 | 0.3 | 01 | C2C28388 |
NOTE: Normal Warranty procedures apply.
SERVICE INSTRUCTION:
NOTE: Use Earth Stud Repair Kit MRPK4072 to carry out this repair process.
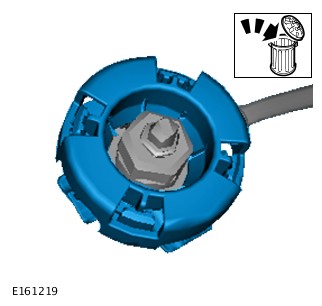
1. NOTE: The plastic earth protection cradle is not compatible with the new stud.
When fitting the repair earth stud, remove the harness cradle from the harness before re-attaching the eyelet to the stud and tightening.
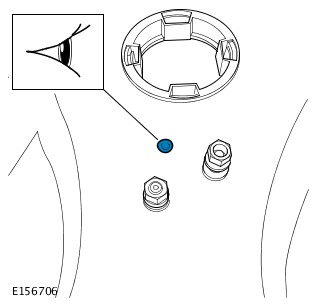
2. Locate broken/cross threaded earth stud.
3. Dress/file the broken stud to a safe and acceptable repair standard.
4. CAUTION: To prevent damage to other components, make sure there are no components in the area that may be damaged by the drilling process.
NOTE: Cleanliness is important to avoid galvanic corrosion.
NOTE: Make sure any swarf is removed/cleaned away.
NOTE: Carry out drilling in close proximity to the broken/cross threaded stud.
NOTE: The stepped cutter should not be used for any other procedure to avoid galvanic corrosion.
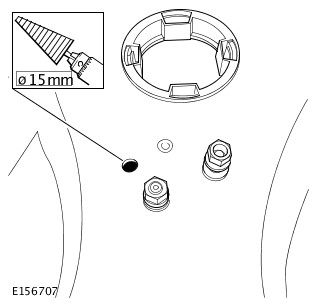
Using the stepped cutter supplied in the kit (MRPK4072), drill until you achieve a 15mm diameter hole.
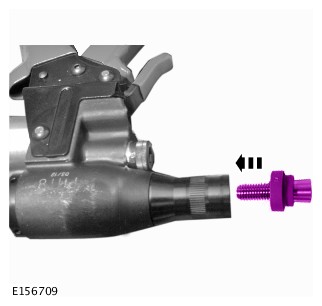
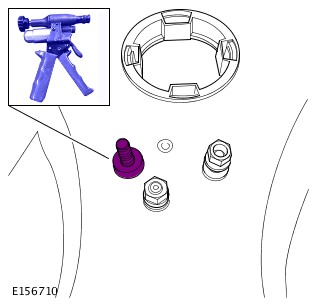
5. Load the new earth stud into the stud applicator gun.
6. NOTE: The earth stud bond is totally self-sealing and watertight; there is no need to dress the hole with any primer before fitting.
Install the new earth stud: Apply pressure to the trigger of the applicator gun until the pressure reduces, this will indicate the applicator gun has reached the end of its cycle.
- Place the new stud into the drilled hole.
- Apply pressure to the trigger of the applicator gun until the pressure reduces, indicating the applicator gun has reached the end of its cycle.
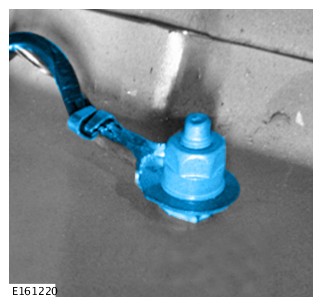
7. Repaired earth stud with harness fitted.
- Torque 9Nm
 Loading...
